
Troubleshooting Common Sourdough Problems and Solutions
- Christopher Heayns

- May 12
- 4 min read
Starting a sourdough starter is a rewarding journey, but it can come with a few bumps along the way. Whether you’re new to baking or have been nurturing your starter for a while, it’s normal to face some challenges. The good news is that most sourdough problems have simple solutions. I’m here to guide you through common issues and help you keep your starter healthy and bubbly.
Common Sourdough Problems and Solutions
Sourdough starters are living cultures, so they need the right environment and care to thrive. Here are some typical problems you might encounter and how to fix them:
Starter not rising or bubbling: This usually means your starter is not active enough. Try feeding it more frequently, ideally every 12 hours, and keep it in a warm spot around 21-24°C (70-75°F). Using filtered or bottled water can help if your tap water is heavily chlorinated.
Starter smells unpleasant: A healthy starter should smell tangy, fruity, or yeasty. If it smells like nail polish remover or rotten, it might be stressed or contaminated. Discard most of it, keep a small amount, and feed it with fresh flour and water. Make sure your container is clean and avoid metal utensils.
Liquid on top (hooch): This greyish liquid is a sign your starter is hungry. Pour it off or stir it back in, then feed your starter promptly. Increasing feeding frequency can prevent hooch from forming.
Mold growth: Mold is rare but serious. If you see fuzzy, coloured spots, discard the starter and start fresh. To prevent mold, keep your starter covered but not airtight, and store it in a clean environment.
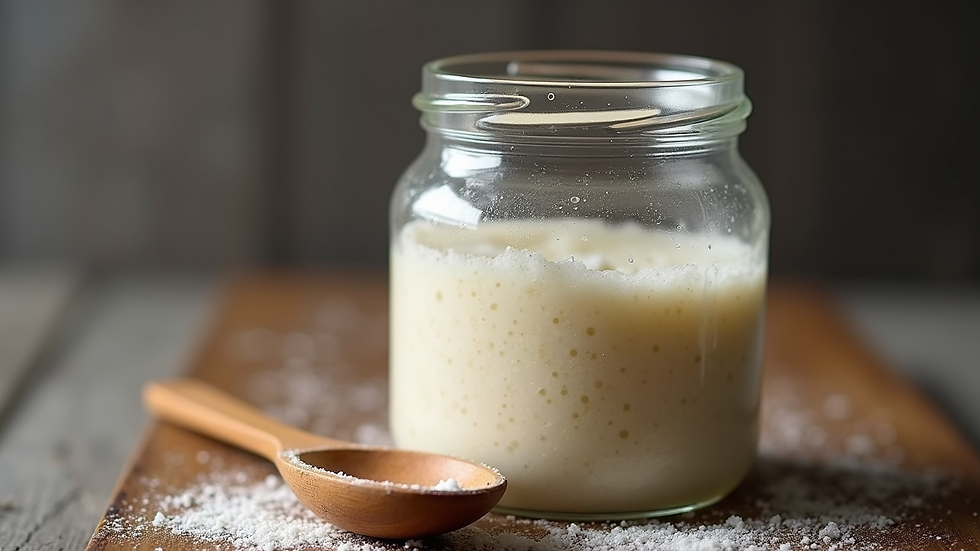
Starter too thick or too thin: The consistency should be like thick pancake batter. If it’s too thick, add a little more water at feeding. If too thin, add a bit more flour. Consistency affects fermentation speed and activity.

How to tell if your sourdough starter is failing?
Knowing when your starter is struggling is key to saving it. Here are some signs your starter might be failing:
No bubbles or rise after feeding: This means the yeast and bacteria are not active. Try changing the flour type to whole wheat or rye, which can boost activity.
Strong off-putting smell: If the smell is consistently unpleasant despite regular feedings, it could be contamination.
Discolouration: Pink, orange, or red streaks are a warning sign. Discard the starter immediately.
Starter doesn’t double in size: A healthy starter should double in volume within 4-6 hours after feeding at room temperature. If it doesn’t, try adjusting feeding ratios or temperature.
Starter is sluggish or slow to rise: This can happen if the starter is kept too cold or fed infrequently. Try warming it slightly and feeding more often.
If you’re unsure, it’s always better to start a new batch than risk baking with a weak or contaminated starter.
Tips for Maintaining a Happy Starter
Keeping your starter happy is easier than it seems. Here are some practical tips I follow:
Feed regularly: Consistency is key. Feed your starter every 12-24 hours depending on room temperature and how active you want it.
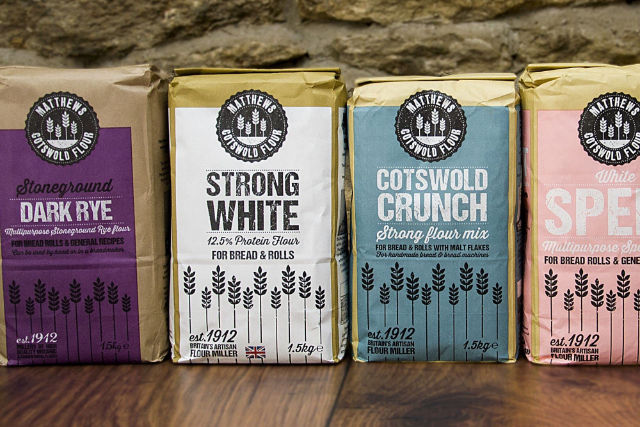
Use the right flour: Whole grain flours like rye or whole wheat encourage microbial growth. You can mix these with white flour for balance.
Keep it warm: Starters love warmth but not heat. Aim for a steady 21-24°C (70-75°F). Avoid cold drafts or direct sunlight.
Use clean tools and containers: Always use glass or food-grade plastic containers. Avoid metal bowls or spoons that can react with the starter.
Adjust hydration: If your starter is too dry or too wet, tweak the water-to-flour ratio. A 1:1 ratio by weight is a good starting point.
Discard wisely: When feeding, discard most of the starter to keep acidity balanced and prevent overgrowth.
When to Refresh or Restart Your Starter
Sometimes, despite your best efforts, a starter may need a refresh or a complete restart. Here’s when to consider it:
Starter smells bad or shows signs of contamination: If you see mould or persistent bad smells, it’s safer to start over.
Starter is sluggish after multiple feedings: If your starter doesn’t improve after a few days of regular feeding, try refreshing it by feeding with a higher ratio of fresh flour and water.
You want a stronger starter: Refreshing with whole grain flour or adding a bit of commercial yeast can jumpstart activity.
You’ve neglected your starter for a long time: If it’s been in the fridge for weeks without feeding, it might be better to start fresh.
Starting a new starter is simple: mix equal parts flour and water, keep it warm, and feed regularly. Within a week, you should have a lively culture ready for baking.
Embracing the Learning Curve
Sourdough baking is as much about patience and observation as it is about ingredients. Every starter is unique, and it takes time to understand its rhythms. Don’t be discouraged by setbacks. Each problem is a chance to learn more about your starter’s needs.
If you want to dive deeper into sourdough starter troubleshooting, there are plenty of resources and communities ready to help. Remember, the joy of sourdough is in the process as much as the delicious bread it produces.
Keep experimenting, keep feeding, and enjoy the wonderful world of sourdough baking!


Comments